
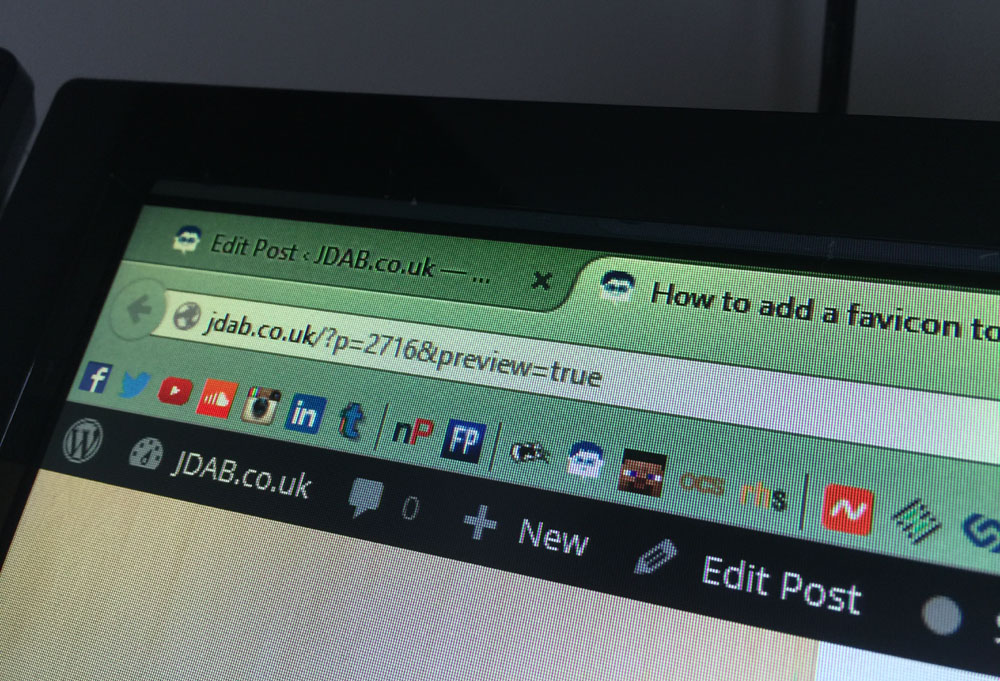
Ever wondered how to add a favicon to your website? In this easy guide I’ll walk you through how to do it.
If you’re unsure as to what a favicon is, it’s the little icon that shows up next to the website name in your tab area – you can see that mine is an icon of a geeky-looking character. These don’t have any effect on search engine optimisation, it’s simply to improve the user experience.
In five easy steps, here is how to add a favicon to your website:
- Find/create the image you want to use, and make sure it’s 32×32 pixels. You may want to consider saving it as a PNG file to make use of the transparency aspect if there are blank parts of your favicon.
- Log in to cPanel and navigate to your File Manager, then into your public_html folder. If you use FTP, this will take you to this location.
- Upload your favicon into this top level folder.
- Once uploaded, you will need to rename the file to favicon.ico. Make sure you remove any mention of JPEG/PNG from the file extension as this will not work.
- Job done! It may take a little time to show due to caching but it will appear soon.
That was a quick and easy guide to creating and implementing a favicon for your website – what would you like me to provide a tutorial on next?

0 Comments